MetaTrader API · 8 min read · 2026-06-09
How to Migrate from MetaApi to API2Trade Without Rebuilding Your Whole App
By API2Trade Editorial Team
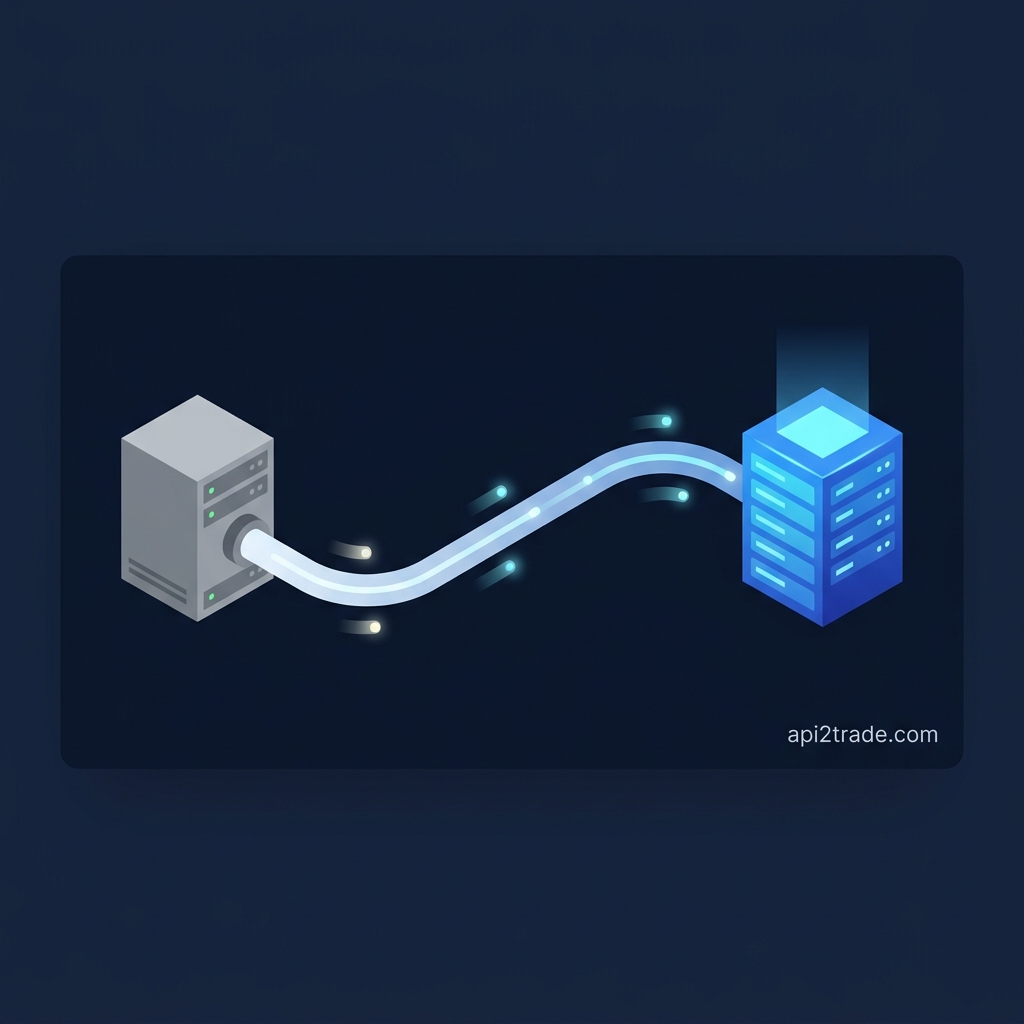
A practical, step-by-step developer guide on how to migrate from MetaApi to API2Trade. Learn how to map endpoints, handle authentication, and switch your WebSockets smoothly.
A practical, step-by-step developer guide on how to migrate from MetaApi to API2Trade. Learn how to map endpoints, handle authentication, and switch your WebSockets smoothly.
When SaaS founders and developers realize they need to migrate from MetaApi—often due to high scaling costs or latency issues—their first fear is that they will have to rip out their entire backend architecture and start from scratch.
Fortunately, if you are looking to replace MetaApi with a protocol-level REST API like API2Trade, the core logic of your application remains exactly the same. Your database, your UI, and your trading algorithms don't change. You only need to update the data-transport layer.
In this developer guide, we will walk you through a practical MetaApi migration. We cover exactly what you need before you start, how to map your endpoints, and a testing checklist to ensure your app transitions smoothly.
1. What You Need Before Migration
Before you update any code to switch from MetaApi, ensure you have the following prerequisites ready:
- Your Active Broker Servers: API2Trade connects directly to your broker's trade servers. You will need the exact broker server names (e.g.,
ICMarkets-MT5-Live03) or the direct IP addresses you wish to connect to. - Your Test MT4/MT5 Accounts: Have at least two demo accounts ready (one MT4, one MT5) to test the new authentication flow.
- An API2Trade Account: You will need your Base Auth credentials (
userandpassword) provided by API2Trade to authenticate your requests.
2. Authentication Changes: Provisioning vs Connecting
The biggest architectural difference you will encounter during a MetaApi alternative migration is how accounts are authenticated.
- The Old Way: MetaApi requires you to "provision" a cloud account, wait for the virtual terminal to deploy, and then generate an access token for that specific deployment.
- The API2Trade Way: There are no heavy deployments. You simply hit the
/ConnectExendpoint with your broker credentials, and the API instantly returns a sessionid(a UUID v4 token).
How to map it in your code:
Wherever you previously called the MetaApi provisioning SDK, replace it with a standard HTTP POST to /ConnectEx.
// API2Trade /ConnectEx Payload
{
  "user": 123456,
  "password": "broker_password",
  "host": "Broker-Server-Live",
  "port": 443
}
The response will give you a unique "id". You will pass this id as a query parameter in all subsequent API calls to identify the account.
3. Order Placement Differences
Executing a trade remains a straightforward REST call, but the payload structure is cleaner and strictly adheres to the MetaTrader protocol logic.
How to map it in your code:
Replace your old trade execution function with a POST to the /OrderSend endpoint.
The API2Trade /OrderSend payload uses standard MetaTrader ENUMs (e.g., 0 for Buy, 1 for Sell, 2 for Buy Limit).
// API2Trade /OrderSend Payload Example
{
  "id": "YOUR_SESSION_UUID",
  "symbol": "EURUSD",
  "operation": 0, // 0 = Buy
  "volume": 0.1,
  "price": 0,     // 0 for Market execution
  "slippage": 3,
  "stoploss": 1.0850,
  "takeprofit": 1.0950,
  "magic": 999111,
  "comment": "SaaS_Trade"
}
Because API2Trade operates via a protocol-level connection rather than a headless terminal, you will likely notice a significant reduction in execution latency, especially if your API nodes are GEO-optimized in LD4 or NY4.
4. WebSocket / Streaming Changes
If your app relies on real-time copy trading or instant dashboard updates, you are likely streaming data rather than polling.
- The Old Way: MetaApi uses custom SDK synchronization listeners.
- The API2Trade Way: API2Trade provides direct, standard WebSocket upgrades.
How to map it in your code:
You no longer need a heavy SDK. You can use standard WebSocket libraries (like ws in Node.js or websockets in Python).
Simply connect to the wss:// endpoints using your session id:
- Live Pricing: Connect to
/OnQuote?id=YOUR_SESSION_UUID - Trade Execution Tracking: Connect to
/OnOrderUpdate?id=YOUR_SESSION_UUID
When an order opens, closes, or hits a Stop Loss, the /OnOrderUpdate socket pushes a clean JSON object to your backend instantly.
(For a deep dive into building a full streaming architecture, read our guide on How to Build a Copy Trading Platform).
5. Testing Checklist for Your Migration
Before you push your MetaApi migration to production, run through this final checklist on your staging server:
- Authentication Loop: Does your app successfully handle the
/ConnectExsessionid? If the session drops (e.g., weekend server maintenance), does your code automatically catch the error and request a new/ConnectExtoken? - Latency Check: Execute 50 parallel trades on a demo account using
/OrderSend. Verify that your backend processes the volume without hitting rate limits. - Socket Reconnection: Force-close your WebSocket connection to
/OnOrderUpdateand ensure your app automatically reconnects and fetches/AccountSummaryto sync any missed state changes. - Log Cleanup: Ensure you have completely removed the old proprietary SDK dependencies from your
package.jsonorrequirements.txtto reduce your app's footprint.
Need Help With Your Migration?
If you are managing a large user base and want to ensure zero downtime during your transition, you don't have to do it alone.
Already using MetaApi and considering a switch?
👉 Contact API2Trade Support and our engineering team will check your current setup, answer your architectural questions, and help you determine exactly how your backend can be migrated.
Ready to integrate the MetaTrader API?
Set up in under 30 minutes. No terminal required.
Get Started →